Disclosure: This post may contain Amazon affiliate links, thanks for your support!
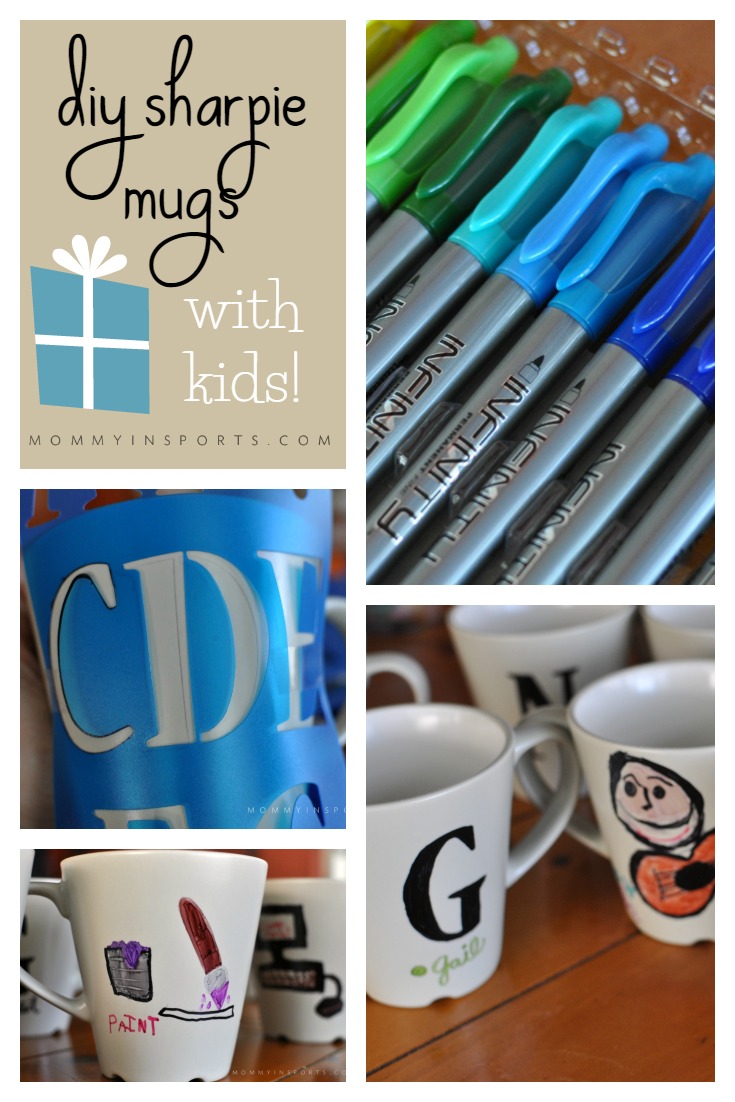
It’s no secret that we love to come up with homemade gifts each year. But trying to be creative, and find something simple enough for kids isn’t always easy. So this year I found the perfect sized coffee mugs at IKEA, and thought, hmmm….why not try the DIY Sharpie mugs with our kids that are all the rage?
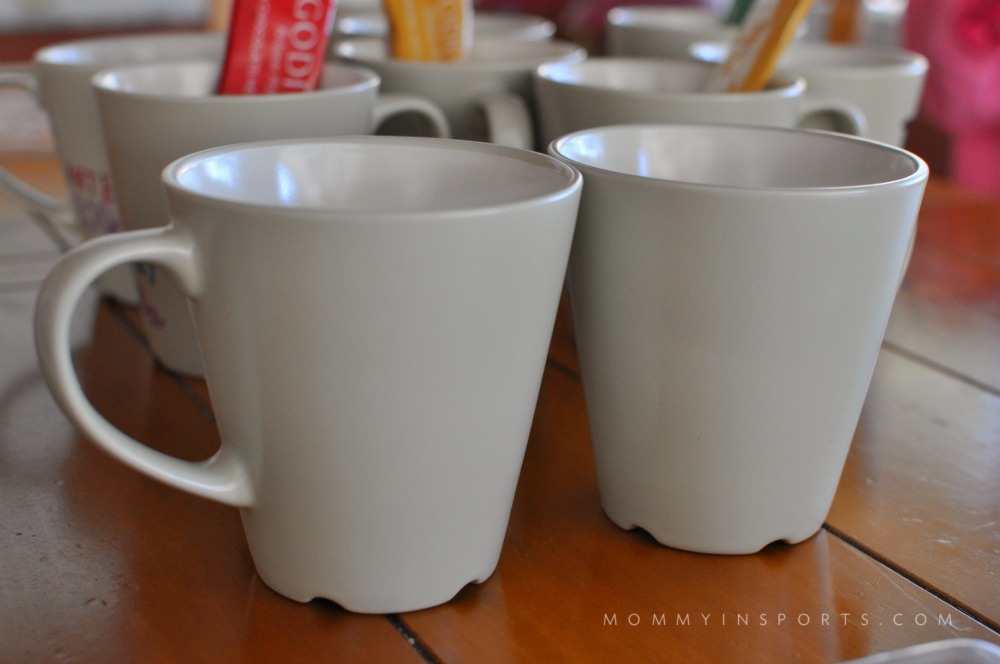 I mean all you need are cups, stencils and markers, how hard can it be? Can you say pinterest fail?!
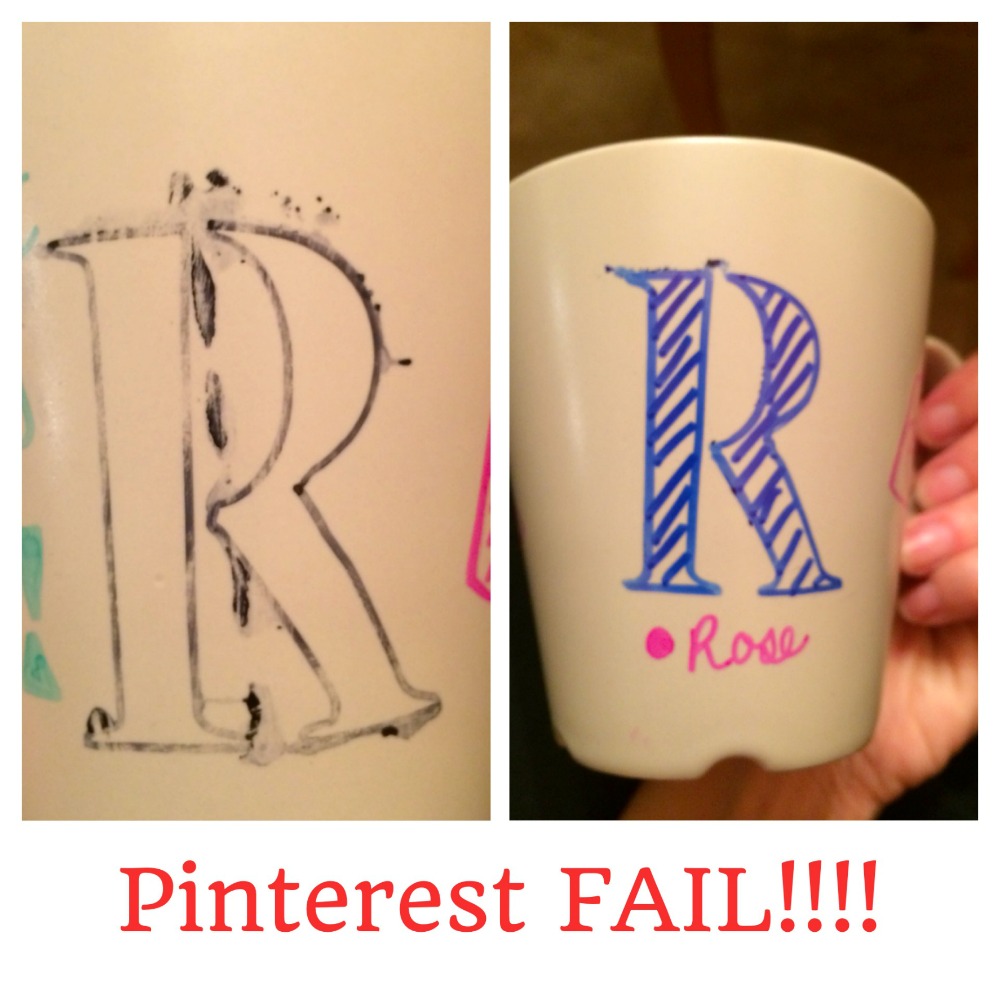 I would like to share with you what not to do so you can ensure great gifts – with the least amount of stress possible!
What Not To Do!
1.First don’t stencil directly onto the cup with marker….it will bleed.
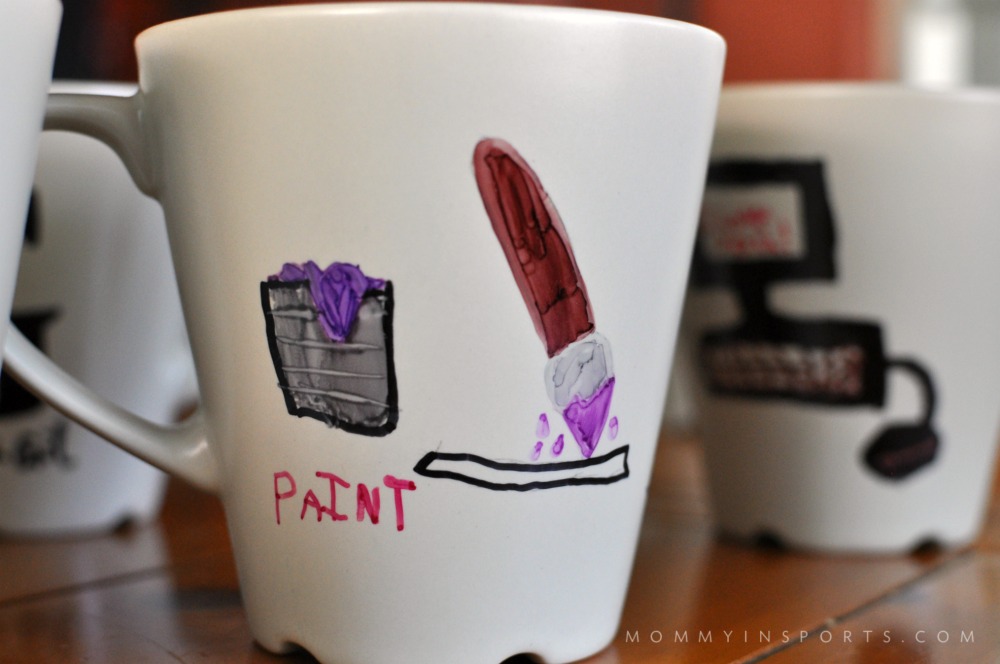
 Instead, use pencil first and then have the grown up outline! We did our teachers initial, or family members initial on the front of the cup…and then my daughter drew cute pictures on the back.
2. Again draw the artwork in pencil, and then outline and color in afterwards. And let it dry after coloring before touching to prevent smudging. Not easy for lefties!
And if you make a mistake, nail polish remover and q-tips are your new BFF’s!
3. Don’t put the mugs into a hot oven! Bake them at 350 for an hour, but here’s a hot tip (pardon the pun): put them in a cool oven and let it slowly preheat, then let the mugs cool overnight, and take out in the morning. I did mine around 8:00pm, then turned off the oven and went to bed.
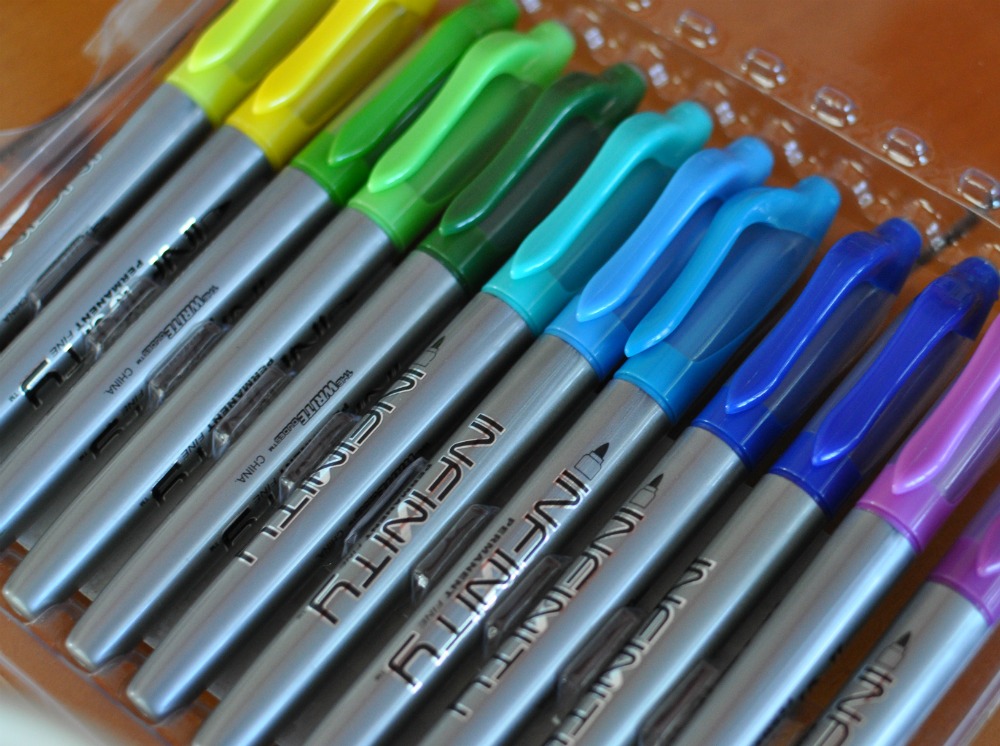 What did I learn? Sharpies are best, especially black, just old fashioned Sharpies, not the paint markers.You can use other brands of permanent markers (like these above), but if the color bleeds with water, go over it again and bake it a second time. I found only the turquoise ran for some reason. I wish I had bought this pack, soooo much cheaper than what I bought in the store.
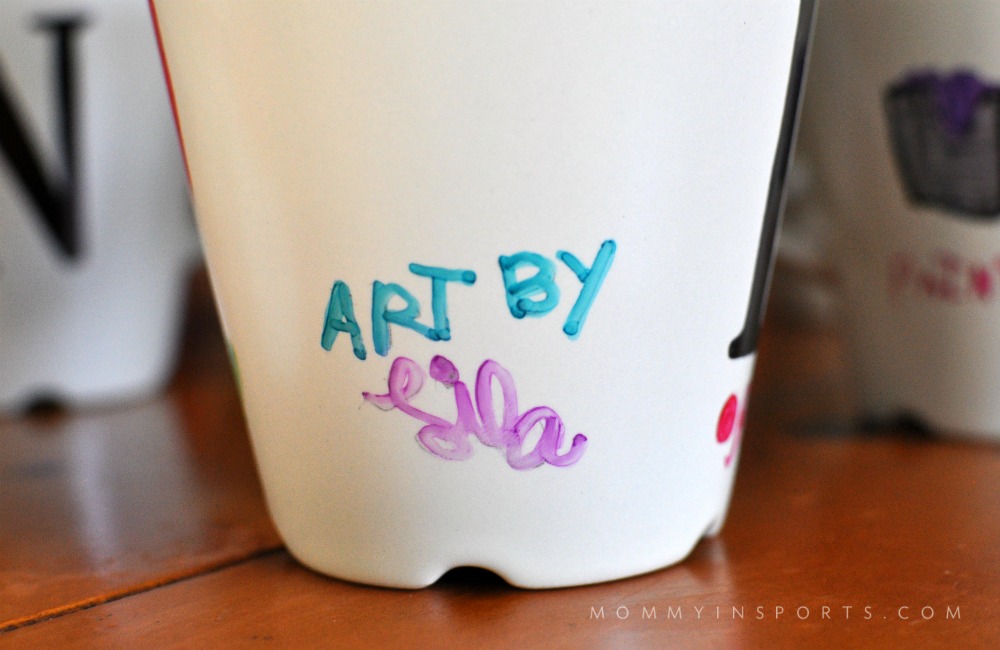
We are going to fill ours with some goodies or a gift card and give to our teachers and family members. I think they are cute and I would love one drawn by my sweet girl, especially since she autographed them!
 And here are some more tips from others that have tried this craft!
Happy homemade gift making!




This is so cute, and please tell me how you find the time to do all these fun crafts?? Do you have extra hours in your day? Can you share? 😉
Ha! I wish I had time, honestly we did them over the weekend,or after school. We just did one or two a day,they took maybe 15 minutes each. I only work 3-4 days a week though, so I have a weird schedule. Plus I never stop moving…I’m sure you could find time this weekend!
I have seen this and thought how easy, but you know my history with Pinterest fails. They are a lot of them! Thanks for the tips so that when we do this it won’t end up in the trash!
Awesome! Thanks for the pointers on this one. Pinterest can make things look so easy – I love getting the insider scoop!
Thanks for sharing.
xoxo
This is an adorable idea for keepsake mugs! I love it!
I have been dying to do these mugs too. I’m glad I read this beforehand. That’s a good tip about putting them in the cool oven as opposed to letting the oven preheat. I wanted to make a cookie platter for my mother in law with my son’s handprints. I wonder if it’s the same idea?
I love these! Thanks for the what not to do tips. Those are usually more helpful that just the instructions about how TO do it. Also, I love that Lila writes her name in cursive.
I love keepsake crafts. This is so cute and looks super easy.
I just stumbled upon your blog and got really excited when I realized that you are a fellow South Florida blogger! I am like in blog heaven!
I hope this idea with the decorated mugs – we know mugs are always well-received as presents because…coffee!
I will be following your blog! Not in a creepy way – but in a blog-friendly way! 🙂
Hi – nice to meet you! I am heading over to get to know another South Floridian…yay!
Ooooh, good to know!! I guess I didn’t realize you had to bake them…I always wondered how the marker stayed on! So, are they dishwasher safe??
Honestly, I wouldn’t put them in the dishwasher. I just hand wash. The trick for dishwasher safety is to get all the glaze off the mug first with etching cream, and then put a double or triple layer of marker. On some of my colors I found they ran, and I re-baked and then they worked. From what I’ve read and tried, thinner the glaze (ie cheaper the mug) the better! These from IKEA actually were nice and dull and had very little glaze.
I’ve done this before with my toddler using ceramic pens – made great gifts for the grandparents 🙂 Stumbled this too x
Thank you so much – my first timeso I hope they love it!
HAHAHAHA I love Pinterest fails – story of my life! I think your mugs turned out darling, though….and how ironic is this – I’m PINNING them! 🙂 HAHAHA
Hope you have an awesome week 🙂
My girlfriend did this with my children one year that she was watching them with plates. I still have the plates and we use them to put out Santa’s cookies on Christmas Eve. They both love this tradition. Love the coffee mug idea..
Thanks it was fun but time consuming!
I am doing these for the grandparents this year… SO cute! This post is actually how I originally found your blog! HA HA HA
I’m having a really hard time finding the Oil Based Sharpies in stores. Of course they are available on Amazon though. Has anyone tried regular paint pens yet? Just LOVE this idea! We found mugs at Dollar Store and are making extras for neighbors!
Wonderful sharpie mugs. Love it.