Disclaimer: This post contains Amazon affiliate links – should you purchase anything listed here I may receive an itty bitty commission!
Need a desk for your child but don’t want to spend big bucks? Me either. With just $7, I was able to grab a vintage typewriter table at a thrift shop and turn it into a girl bosses dream come true! And no you don’t have to be a DIY pro to achieve beautiful results. All you need is a few supplies, a little time, and these quick tips to turn something shabby into something chic
Before last year, I never would have thought I had the talent or patience to refurbish this DIY vintage typewriter table. But after re-doing our kitchen table, and turning this old dry sink into a DIY cabinet, I knew we were ready to tackle this project. So when our oldest asked for a desk, before hitting IKEA, I decided to try some thrift stores. I was looking for a cool old roll top desk, or ornate shabby chic table, but instead, I found this cool old piece. I had no idea what it was – but I thought it might work. And couldn’t so no to the price!
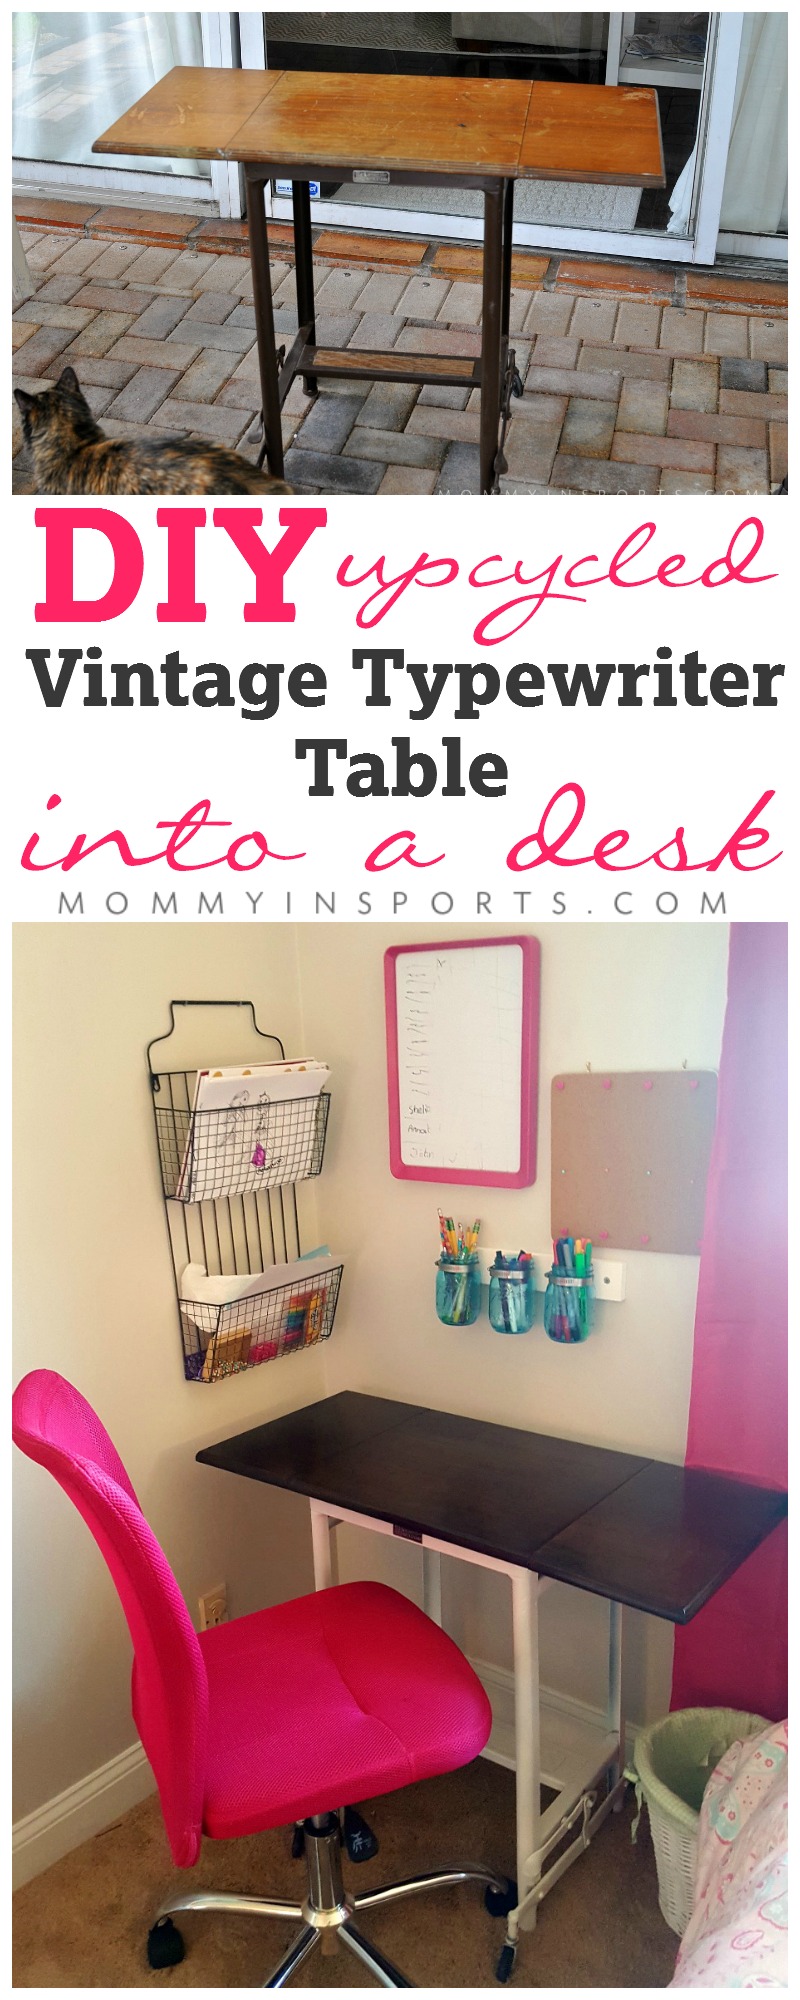
I wasn’t sure if it would fit the space, or if she would even like it, but I thought, “let’s give it a go!” And we had all the DIY materials in our garage, (which is shocking!) so on a Sunday funday my husband and I tackled this surprisingly simple DIY Upcycled Vintage Typewriter Table project, which ended up turning into the perfect little desk.
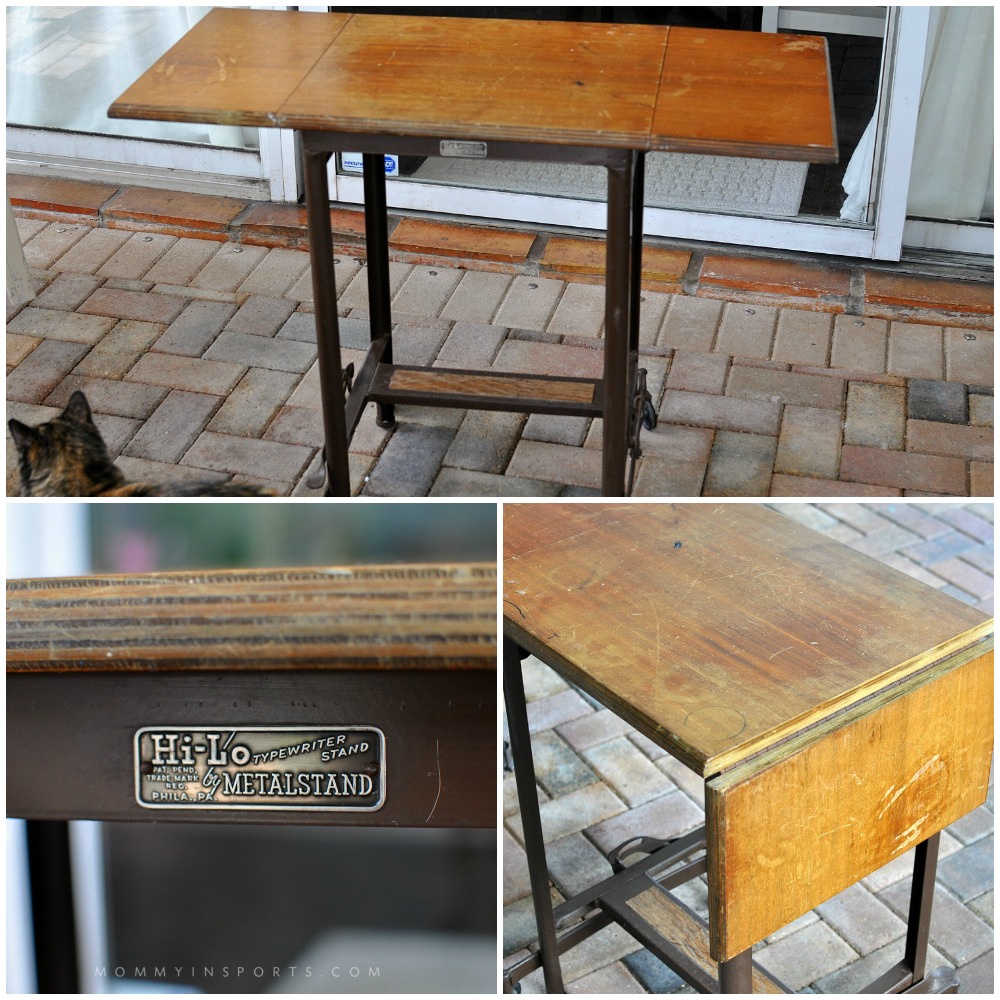
Our cat Zoe is so nosy, she photobombs EVERY blog post.
Upon further investigation, this Hi-Lo Typewriter Stand was likely made in the first few decades of the 20th century. They retail refurbished online anywhere from $60 for the all metal stands, to up to the $200 range for the wood stands. This one was a bit beat up, but nothing a little sanding and stain couldn’t fix! I wanted to paint the entire thing white, and perhaps modge podge a map of the U.S. on top of the wood, but our sevenTWEEN year old wanted a white base with a dark stained top like our kitchen table. As you wish.
I’m not a DIY expert, but in case you’d like to try this, here’s what we did!
diy upcycled vintage typewriter table into a desk
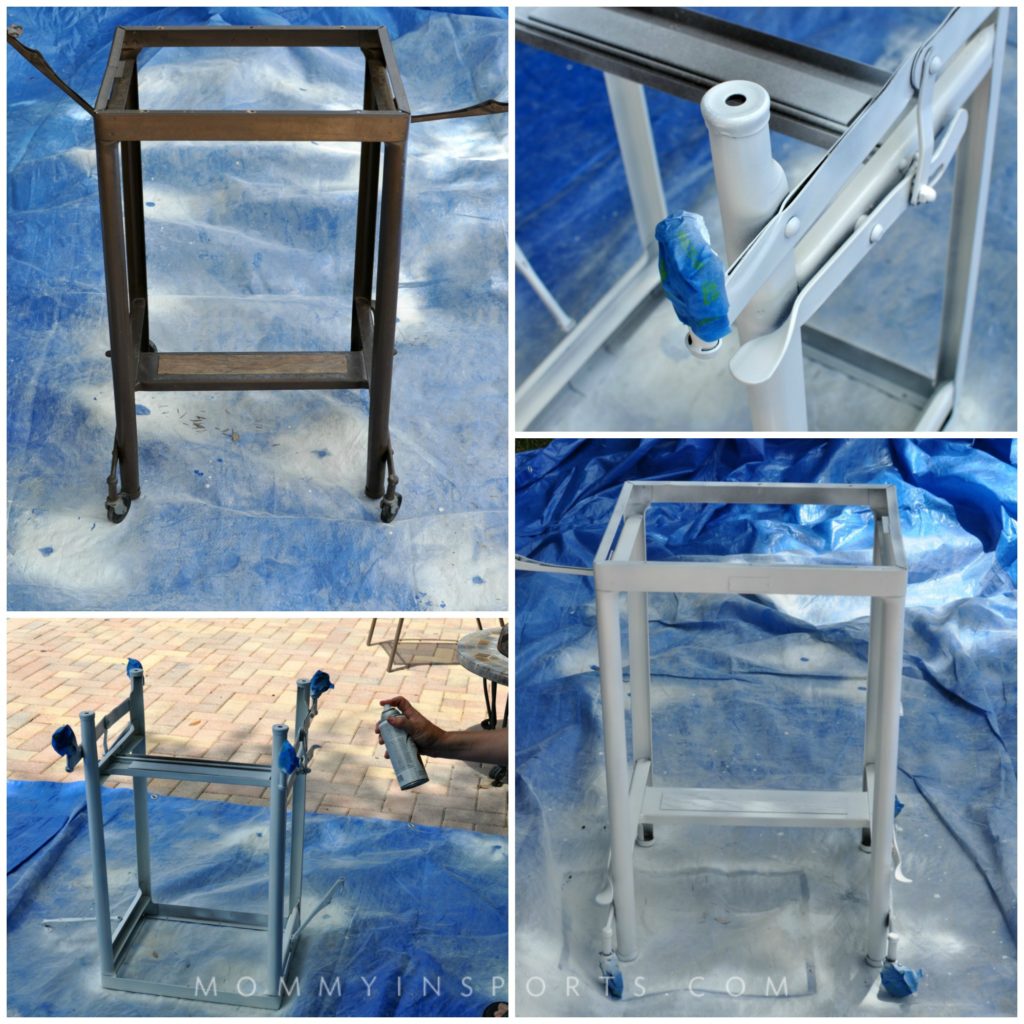
I have to admit, I was a little nervous when Bob the Builder took the wood top off. But he thought it would be easier to paint the base, and he was right. First we cleaned the massive amount of dust and grime off the metal base. Then we spray painted it. Well actually Bob did, I watched and took pictures! We had matte white spray paint in our garage leftover from our last DIY project, score! Oh and when spray painting, don’t get too close or it drips massively. Which I learned the hard way – which is why Bob took over this job.
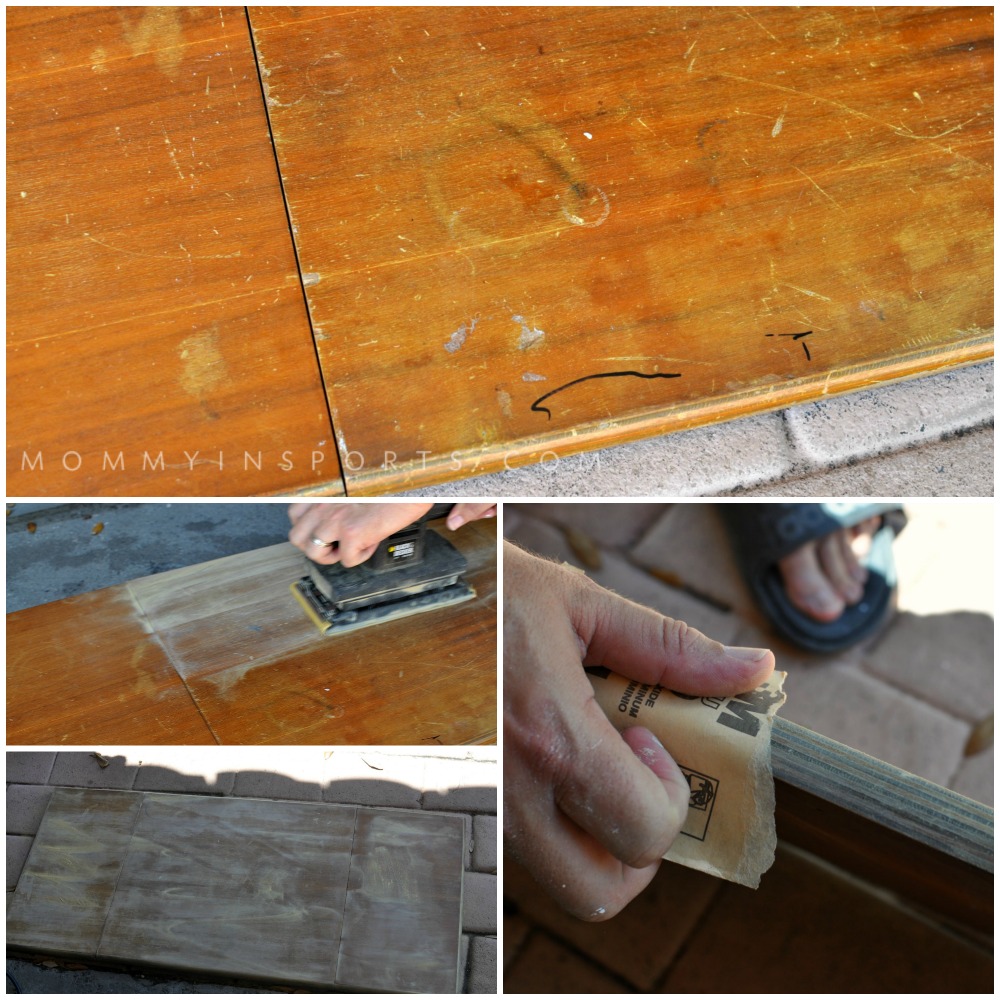
Next up was the wood top. Luckily we have an electric sander, which took about two minutes to sand and get all the Sharpie marks and water rings off the top. Then we used sandpaper on the rounded corners.
Finally my turn to get busy! So I grabbed the Espresso colored wood stain and started working. The key to staining is to move fast. I usually just brush it on and then wipe it off with a lint free cloth. (Or an old burp cloth!) The only tricky part with this table is that the sides go down and the stain dripped in between. I had to be quick to get the drips before they dried! And when you wipe off the stain, there will be wipe marks, so be consistent with your movement. If you mess up don’t worry, just wipe it all off and do it again!
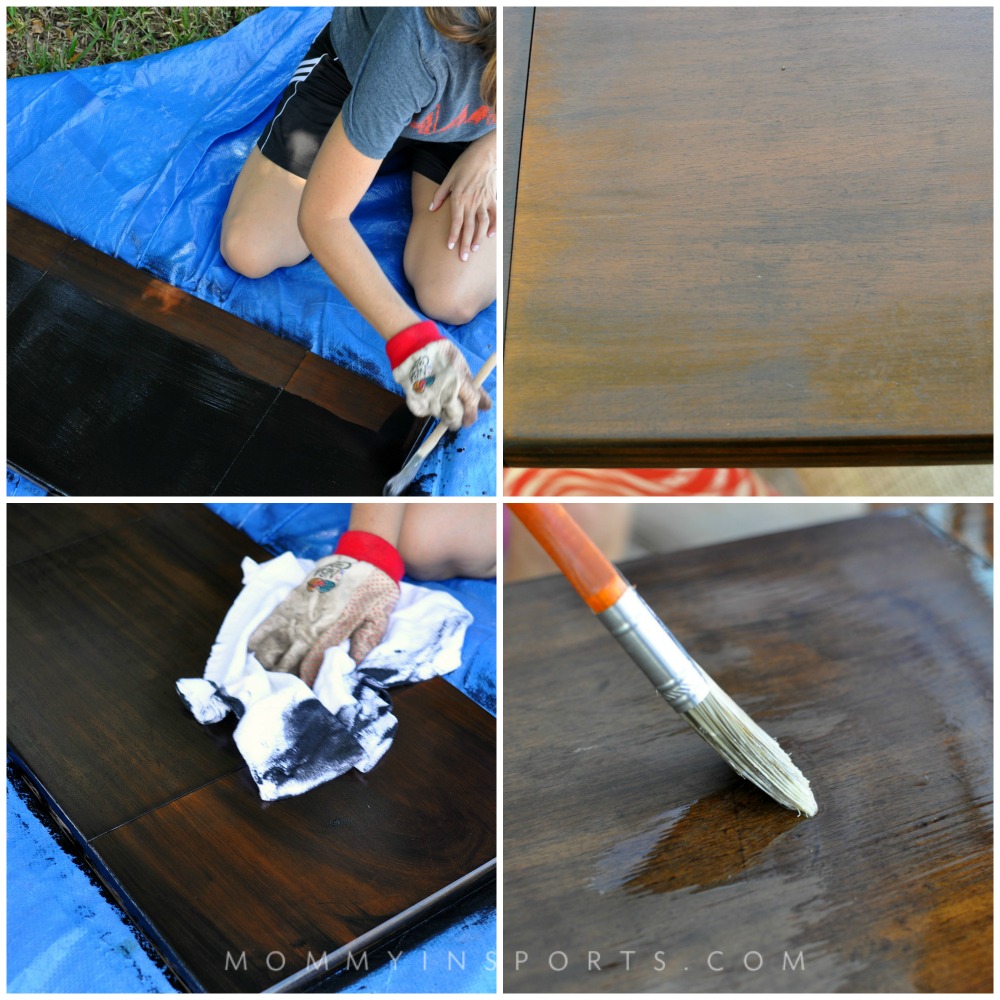
And the last step is add polyurethane to the wood to seal and protect it. Just brush it on in long broad strokes, going with the grain of the wood. Don’t brush over it again if the polyurethane has started to dry, and allow each coat to dry for 24 hours. When done, you need to lightly sand it with 400 grit sandpaper.
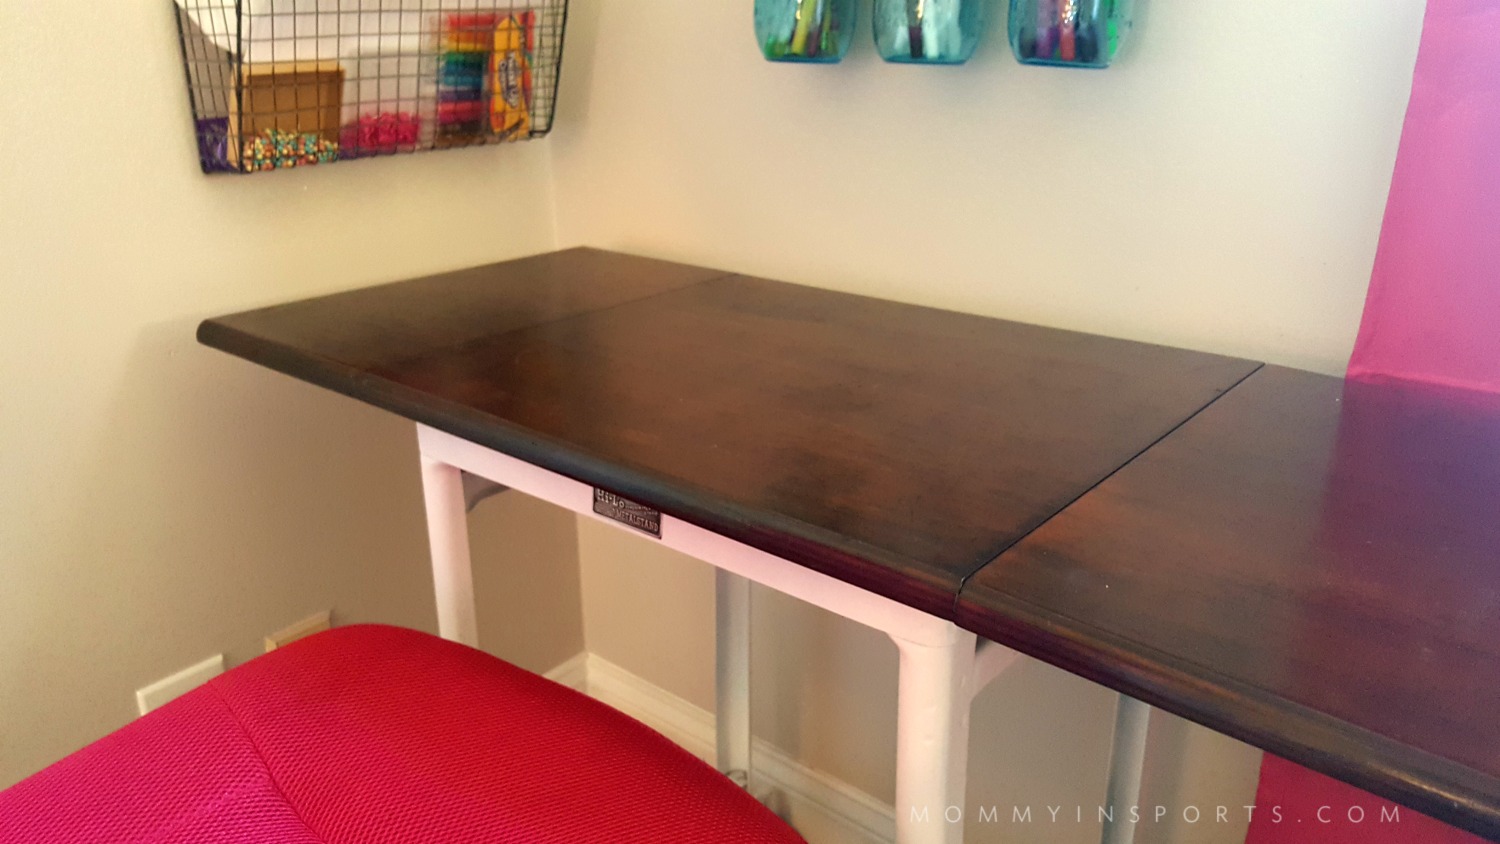
Looks cute huh? This DIY upcycled vintage typewriter table is a small size, but perfect for her now, and she loves to draw at it and sit in her “office” chair. And in a couple of years when homework becomes more challenging, we can give it to her little sister and invest in a desk she can keep for years. 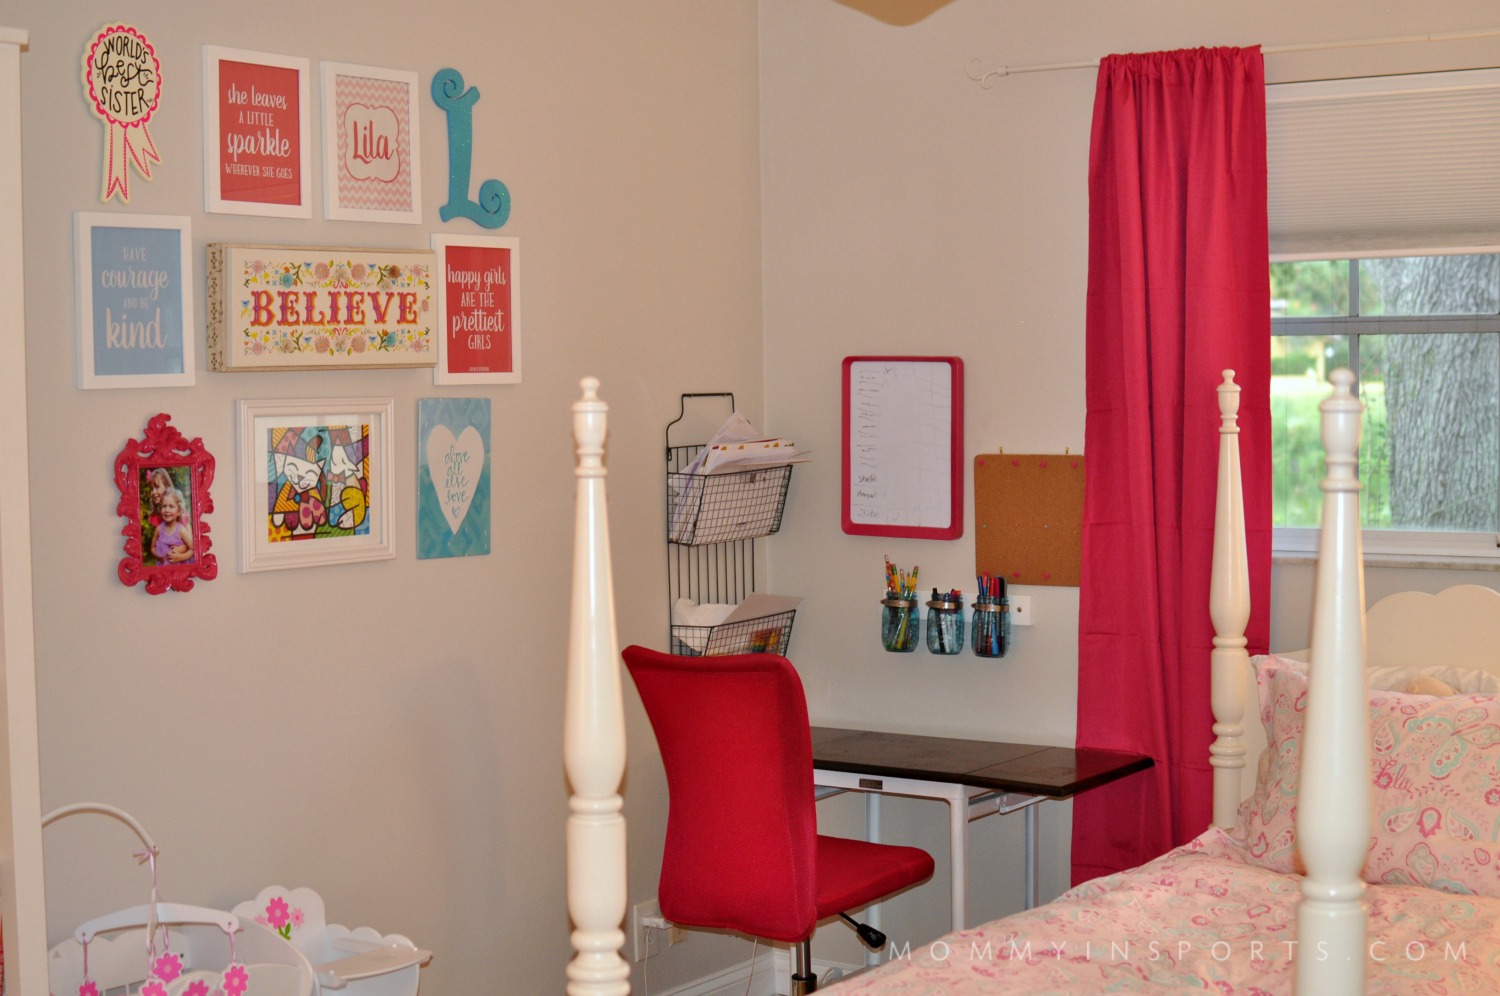 The best thing about this project is we literally spent just $7. I had the spray paint, wood stain, and polyurethane stocked in our garage, so this was seriously the cheapest project ever! The hot pink chair was more expensive than the desk, go figure!
Hope this inspires you to scout the thrift shops in your area. It’s so much fun to make something old new again. It gives her new big girl room a little touch of vintage charm, mixed with her hot pink craziness!


It turned out beautifully! How cool that you snagged such a cool piece for only 7 bucks!
You did a great job and the hard work paid off. This looks great and it’s perfect for the space.
This turned out incredibly well. Now I feel like I could actually refurbish something!
nice work – i esp like the stain! as she gets older put a MUCH LARGER cork board above it! to will make it look super grand…
GREAT idea! We kept it small so she could reach it – but I wanted to make that WHOLE WALL a chalk wall!
Omg this came out so cute!!! Such a cleaver diy!!!
It looks amazing and I love the wood stain you picked! Woo electric sander does look like it saves a ton of time.
So do the sides fold down?! That is awesome! I bet something like this would go for $200+ on that flea market show on HGTV!
Yes they do and on Etsy they are around $180-$200!
What a great work! It looks much more better like that!
It looks great Kristen. I just up cycled a China cabinet and it took me weeeeeeekkkks!
Loved the way it came out and seriously you are so handy and crafty!! 🙂
I love this! The finished project is both functional and super cute! Good job 🙂
Thank you!